Skip to content

Posts from the ‘Before & After’ Category

Before & After – Vintage Chair

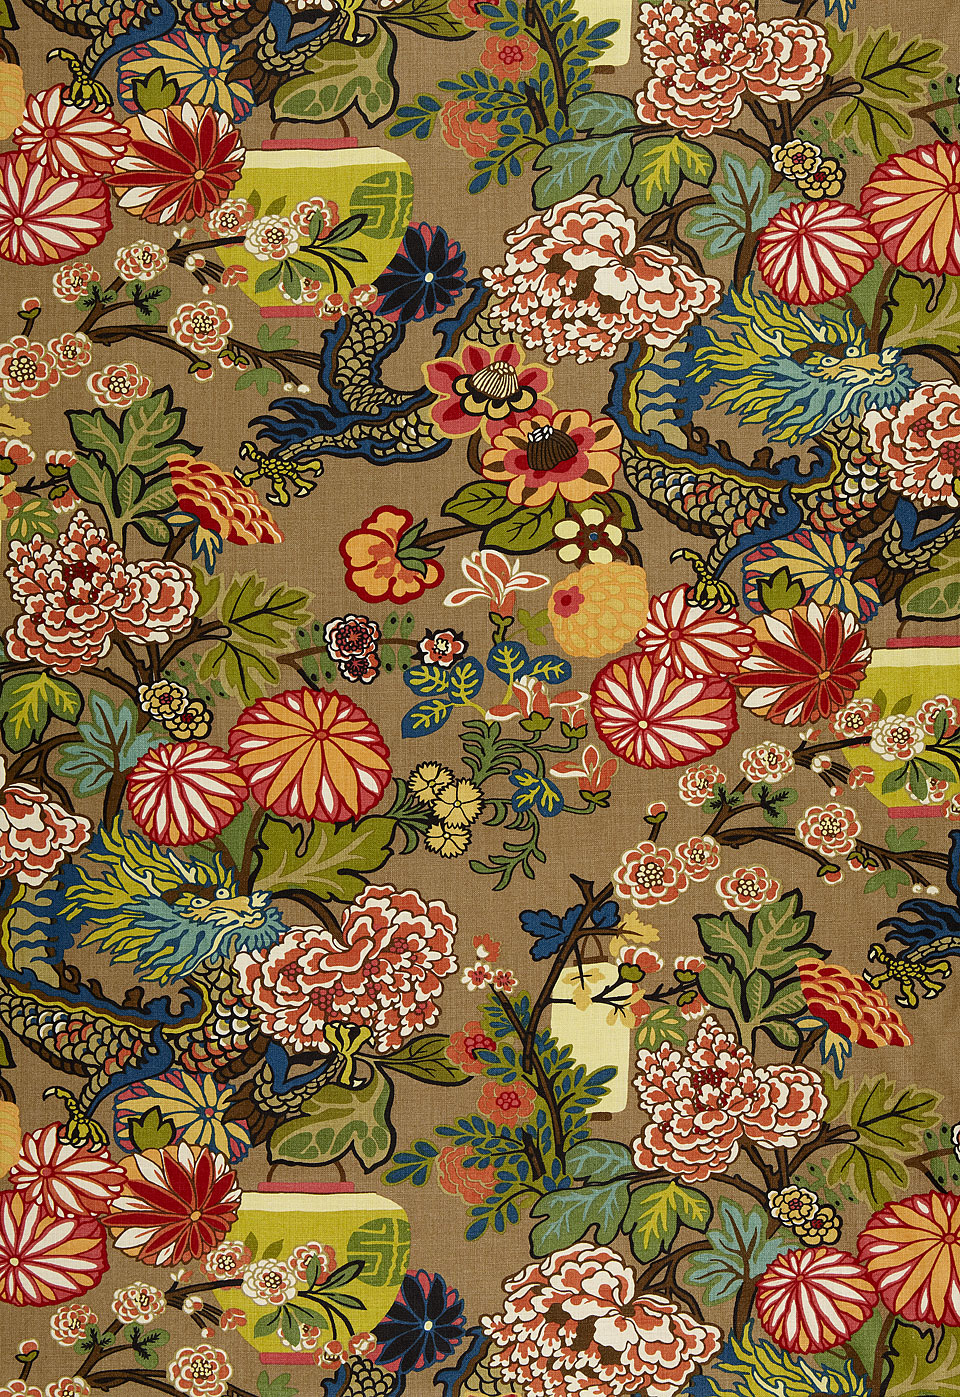
These are my favourite chairs, I found them at a local garage sale for only $300 each – a few people were shocked that I’d paid that much at a garage sale – but they were the real deal, so trust me, it was a bargain. I had one of them professionally re-covered for my book (by Parry & William’s Upholsterers – they’re the best, been around for a long time). Played it safe fabric-wise with a gorgeous thick linen from Mokum (‘Mica’ in Cigar) – and now I’m ready to have the other one re-covered – and I want to be a little more daring – I want to do a pattern but because of the deep buttoning detail, will have to choose a small patterned fabric – I’m liking this one from Schumacher, ‘Chiang Mai Dragon’ in Mocha…let you know how it goes!

Photos of vintage chair by Anastasia K – from our book, ‘New Vintage’

Before & After – vintage dresser


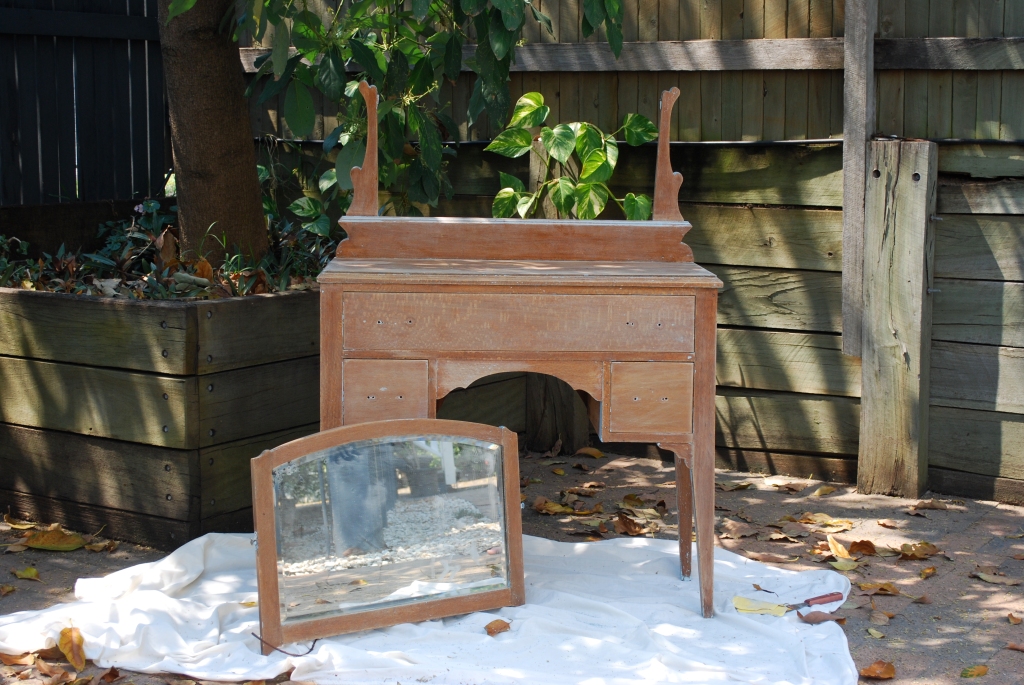
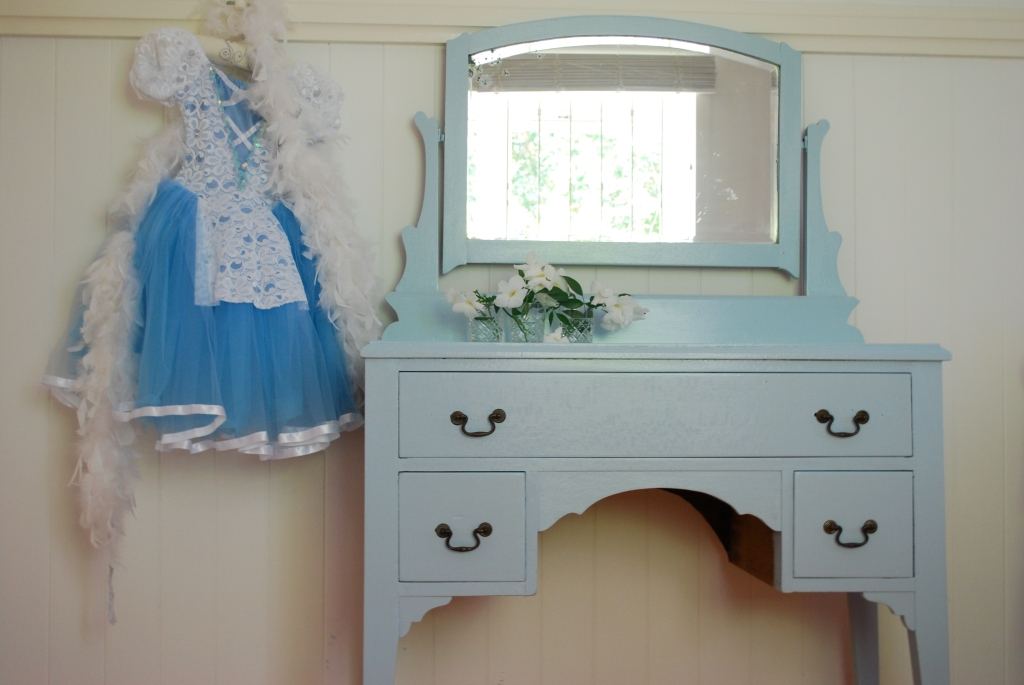
This beautiful old silky oak dresser would have been gorgeous simply restored back to its original condition – however, as this piece was for my daughter’s room and she had her heart set on this pretty ‘Perrier Blue’ from Porters Paints, we decided to paint it. There’s always the chance that you may devalue an antique piece by re-painting it, so it’s good to tread lightly. If the piece is particularly valuable, you’re probably best not to re-paint it at all.

To give you an idea – if I had restored this piece back to it’s original finish, it may have been worth $800 – as a painted piece it’s probably worth only a third of that – however, it is still a fairly common piece and only cost me $100 at a garage sale, so I went ahead.

We only gave it a light sand and then applied a couple of coats of paint. The reason it’s good to only lightly sand antique pieces is that heavy sanding might ruin the intricate profiling and also, leaving some of the old finish on will protect the timber in the event you ever want to restore it back to its original condition. (If you really want to ensure a piece is really easy to restore back to its original condition later, use an oil-based enamel paint as it will be really easy to chemically strip – however, I used a low VOC water-based paint as they’re so much healthier and the dresser was going into a child’s room).

If you’re looking for old dressers or drawers at garage sales and the like – always check the runners, if they’re not in good working order it’ll cost a few hundred dollars to fix them. Only buy pieces that are structurally sound and have a gorgeous shape.

B & A – Garden chair

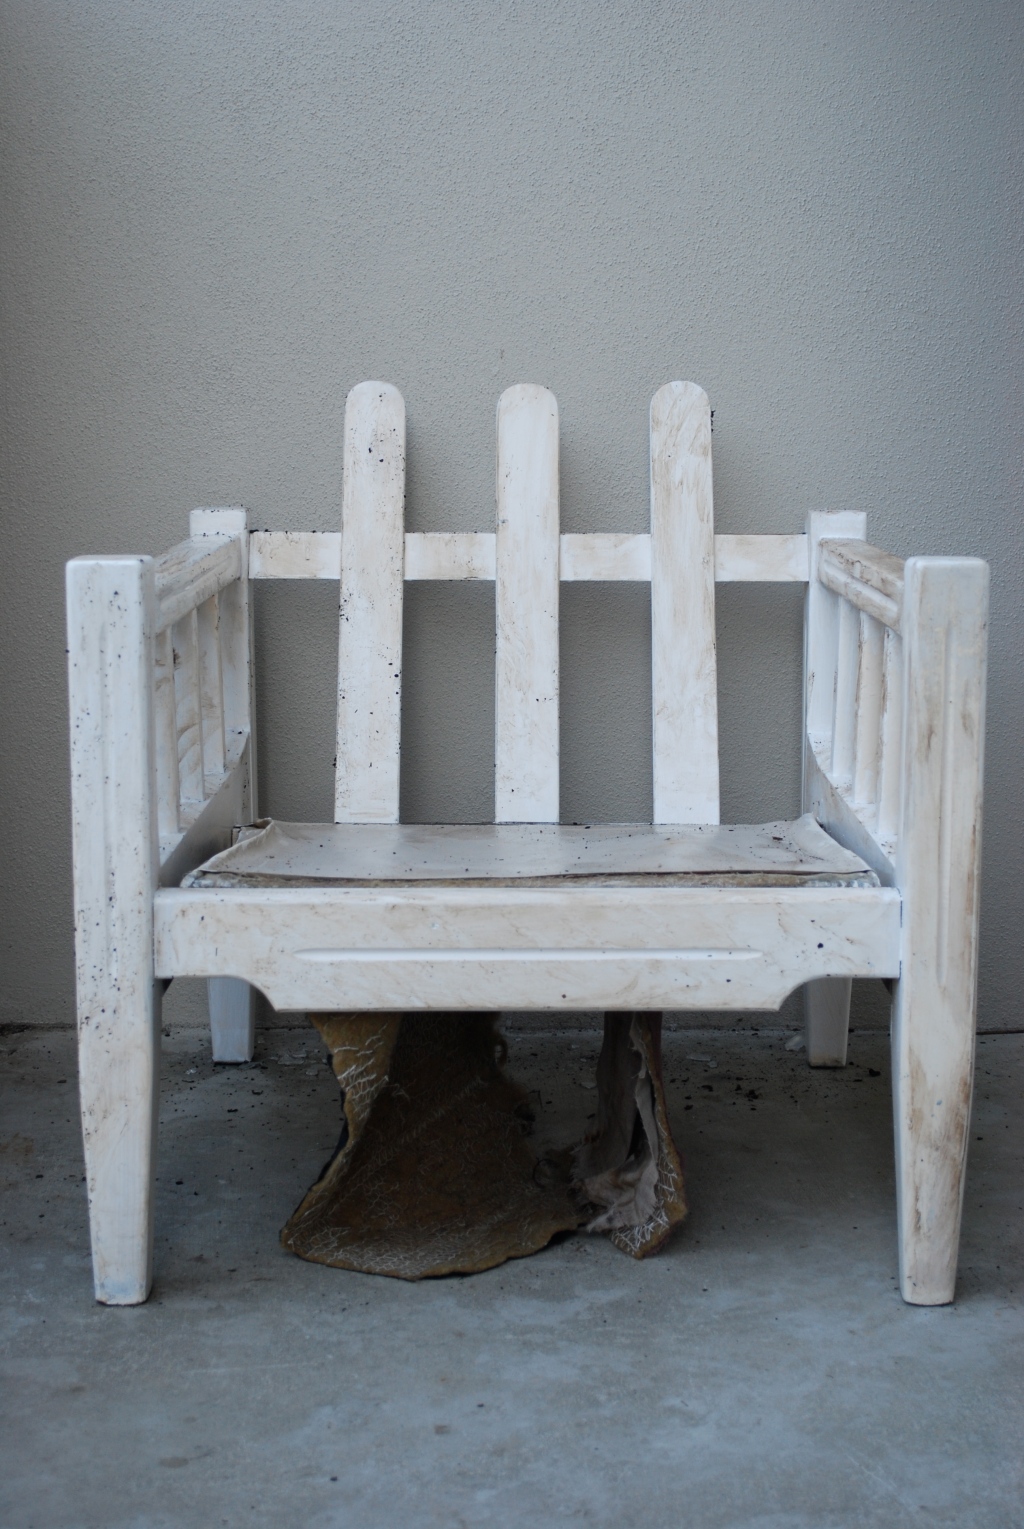
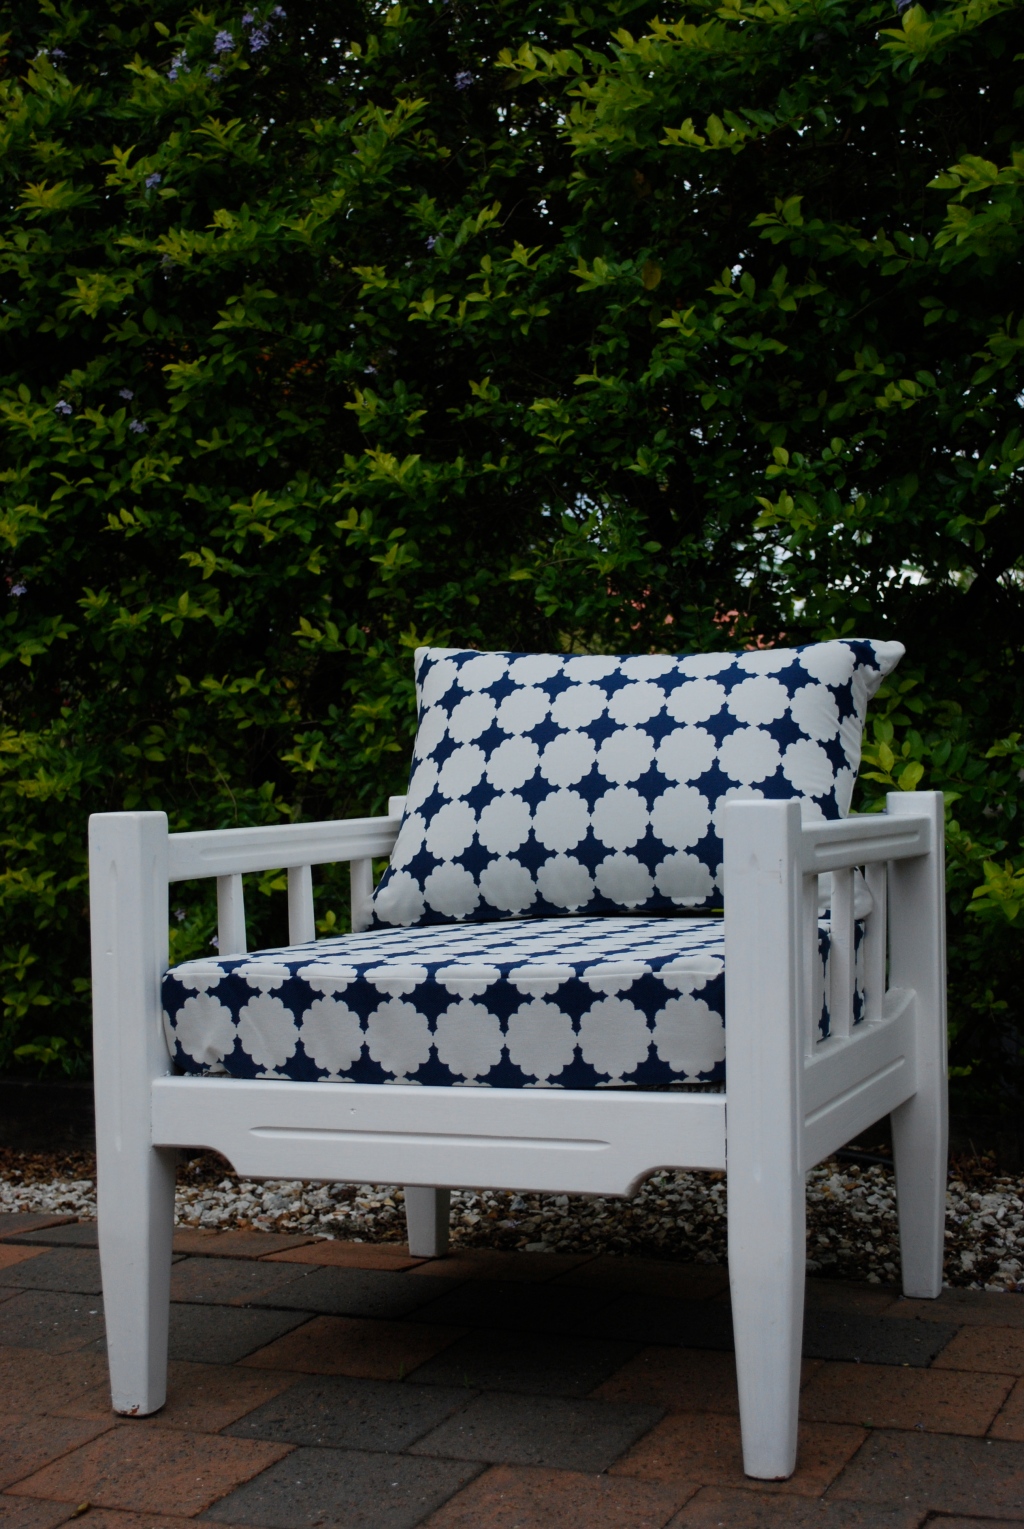
This chair (and a matching two-seater) was a roadside find – and pretty much a cinch to do up – if you find something similar, this is what you do…

Firstly, rub over with diluted bleach to get rid of the mould and dirt – and then give a quick sand. Next, a couple of coats of fresh, white paint (enamel cracks and turns yellow in the sun – so use an acrylic (water-based) paint).

For the cushions – measure up the seat size and pop into your local foam store (I ordered mine from Dyman Foams but you could also try Clark Rubber) and they’ll usually cut it for you on the spot. I also ordered some extra pieces for the back cushions. It’s very important to ask for outdoor foam – there’s two basic types; closed or open cell. Closed cell foam is very dense and doesn’t let the water penetrate at all – open cell foam, as the name suggests, is very porous and lets the water run straight through. I prefer the open cell foam.

And of course it’s really important to use a specialised outdoor fabric, otherwise you may have problems with mould and the fabric may fade rather quickly (especially in our harsh Australian sun!).

(For this project, I used ‘Mimosa’ in Indigo from Mokum). 

Cheap to Chic

Solid raw pine pieces are easy to source cheaply from the likes of IKEA – the problem is, in their natural state, they usually lookincredibly cheap (and a little yellow) – however, a lick of bright paint or dark stain will have them looking fabulous (and more up-market) in no time flat.

As the pine is raw (and make sure it is raw, don’t buy pieces that have been sealed with a clear varnish, they’ll be too hard to prepare) all you have to do is give it a quick sand (just enough to rough up the surface to allow the paint or stain to stick) and then apply a couple of top coats – EASY!

This is a shot of my friend Jocelyn in her kitchen (taken by photographer, John Downs for Real Living) – Jocelyn painted these IKEA pine kitchen stools in Taubmann’s ‘Solar Burst’ – which contrasts beautifully with the dark cabinetry – the stools and paint cost under $60 each – and a shot of Sarah’s IKEA step stool, which she bought for under $15 and stained in a dark shade.